
When handling long documents with dozens or even hundreds of pages, going through them is a nightmare. It is like navigating without a map. You may be able to do it, but having one could definitely save a lot of time. Today, I’ll teach you how to create a table of contents in Word.
To do so, go to the References tab, select the Table of Contents, and choose the one you like.
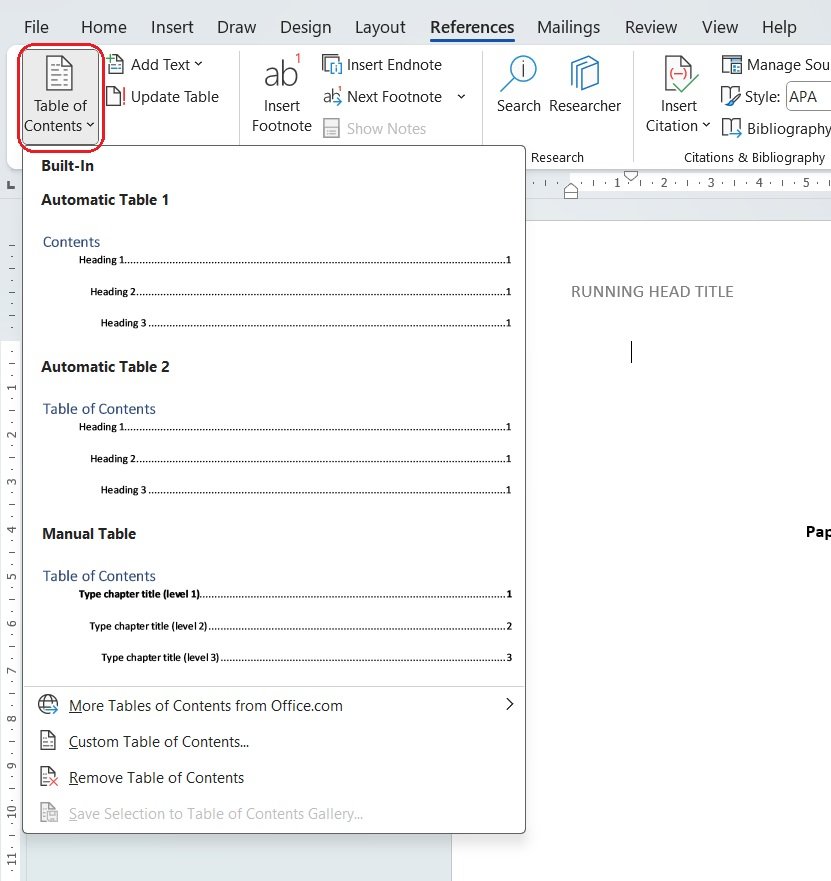
We recommend choosing an automatic table of contents. This way, the table will update with any changes you make in your document without it being that complicated.
For Word’s table of contents to update correctly, make sure your titles, subtitles, and headings are in the correct format.
Click on the text you want to format; you don’t have to select it all; just click on it. Then, go to the Home tab and click on the format you need for that text right in the Styles section. You can also make it with the shortcut of each style.
The idea is to do this from the beginning, but you can do it at any point of your writing process since you can update the table of contents any time you want and as many times as you need.

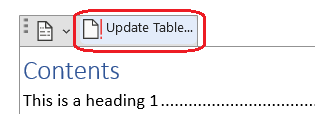
Once you’ve formatted your titles and headings, it’s time to update your table of contents. You can make it by clicking anywhere on your table of contents to make the option Update Table appear. Click on it and select Update entire table. If you didn’t add any new headings, you could choose to update page numbers only. Click on okay, and you’re good to go.

This updating method only works if you choose an automatic table of contents. If you want to update a manual table, you must do it by writing the titles and headings and changing the number of pages yourself.
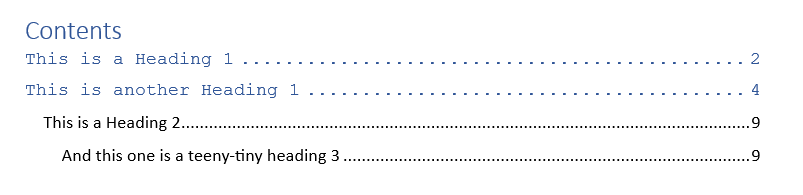
One of the most valuable features of a table of contents is that each title and heading is linked to its section, meaning that clicking on each will take you to the page where it is located.
Now, let’s say you don’t like the aesthetics of your table of contents. In that case, we have great news. You can customize it to fit your needs. Some aspects you can change are the font of your table, the levels visible on the table, and the tab leader.
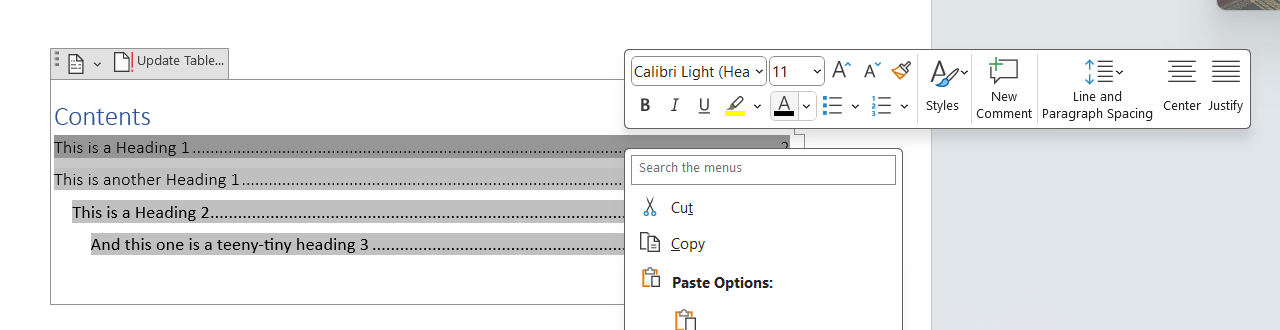
To change the font, its size, or even the color. Select the text you want to change along with the page number and whatever is filling the space between the text and the page number—we’ll talk about that later—and the menu to change all of these things will appear automatically to change everything you want from there.
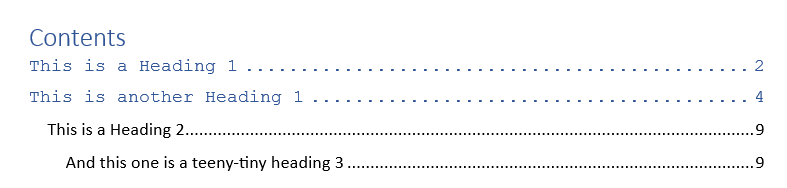
Now, you must know that once you change any of its visual properties, any other section in the same level will have the same properties. This means that if you, for example, choose to put heading 1 in a blue Courier New font, every other heading 1 in your table of contents will have the same blue Courier New font.
Maybe you just want to see the texts formatted as Heading 1 in your table of contents and leave the lower levels out of the equation. In that case, go to the Reference tab again, then click on Table of Contents, and finally select Custom Table of Contents.

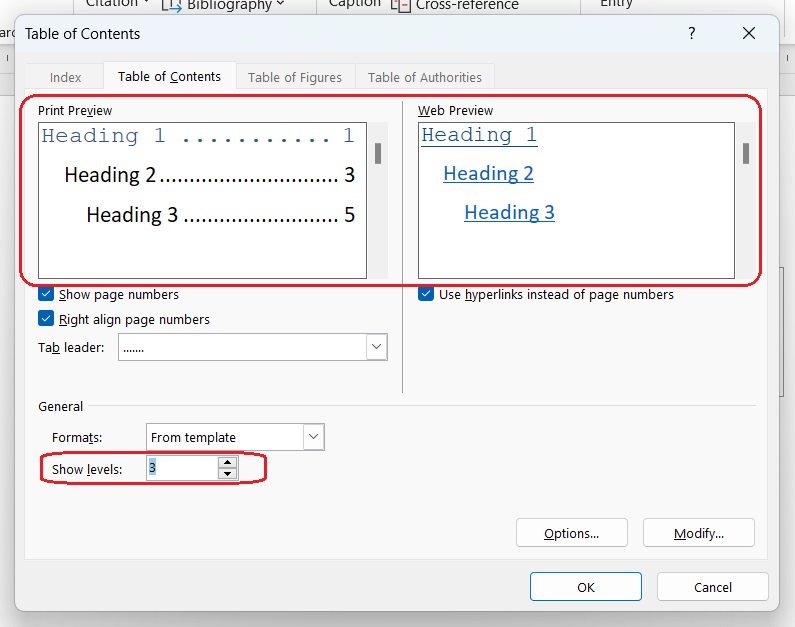
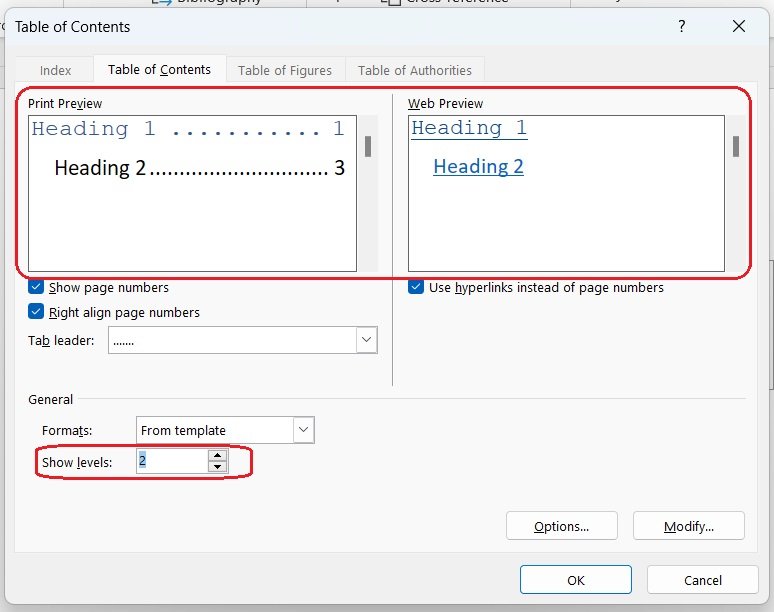

As you can see, once we lower the levels we want to show, the headings of lower levels disappear.
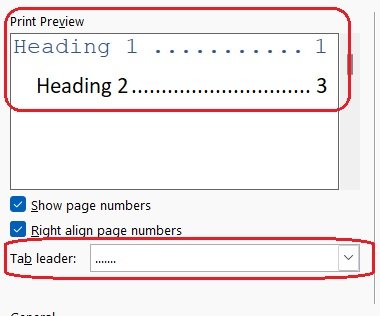
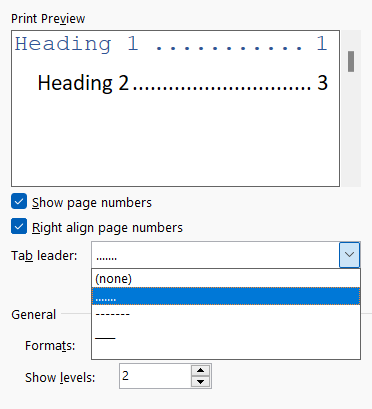
This is where we’ll discuss the space between the text and the page number. That space you’ve seen filled with a line of dots is called a tab leader and can be modified, too. You just need to go again to References, click on Table of Contents, and then on Custom Table of Contents.
Once there, you will find the Tab leader below the Print Preview. There, you can change it for a dotted line, a continuous one, or to make it disappear.
Now, it’s time to put everything you learned into practice and save time going through your writings with the help of your brand new table of contents in Word.
